I've gotten a bit behind in documenting this project, what with figuring out logistics for helping my father-in-law and stepmother-in-law, who are in declining health, get moved from Orange County in Northern Mexico to Boise.
My wife and I went up Thursday evening, and there is now a pump that had filled the water tank about half full (600 to 700 gallons), and a water line down to the house with a water faucet. Unfortunately, without a pump from the water tank, there isn't quite enough pressure to run the water four feet up the pipe to the faucet. I really don't see why this would be--the faucet is still several feet below the bottom of the water tank.
At the request of readers with dialup connections, I am now using thumbnails (which are reduced size pictures) which you can click to see the pictures full sized.
Here's the faucet:

Click to enlarge
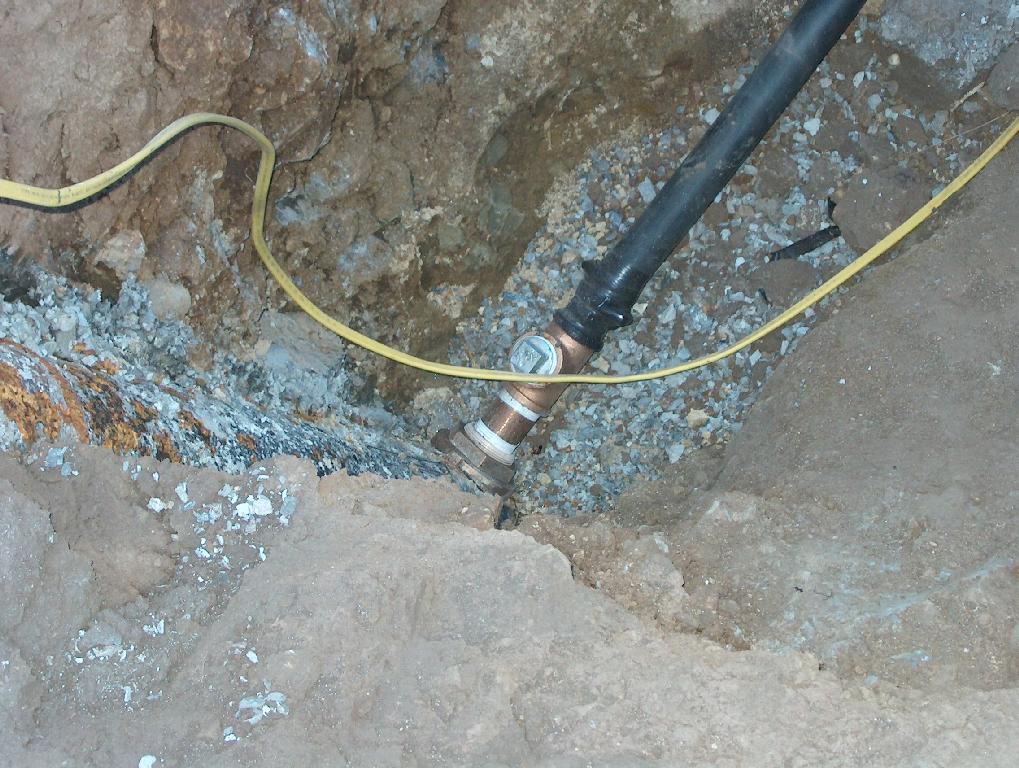
The well pump interface to the well was a bit different than I expected. I assumed that they would take the cap off the well, and stuff the pipe and pump into it. No, they drilled a hole into the side of the well casing well below ground level instead. The yellow cord is temporary electrical power, until we the permanent electric meter and house wiring.
Click to enlarge
Here's the electrical power for the well pump (which goes all the way down into the bottom of the well) going into the top:
Click to enlarge
Thursday afternoon, we went through a close relative of this house (slightly smaller) with our builder, and suddenly, my wife and I found ourselves feeling very boxed in by how small it seemed. When we returned to our current home, we realized why: we have nine feet ceilings, and the house we went through only had eight foot ceilings in several of the rooms.
So Friday morning, I called Scott, and asked him if we could change this. The kitchen will now be a vaulted ceiling (like the family room, living room, and front hall), and the rest of the rooms will be nine foot ceilings. Since eight foot studs had already arrived, Scott had to call the lumber vendor, and ask them to do a swap. Scott is such a patient person.
We also noticed on Thursday evening that all the floor joists were in--but one--they had run out. At first I thought: "Programmers aren't the only people that have fencepost errors." A fencepost error is when you ask someone, "You are making a ten foot long fence, with posts one foot apart. How many posts do you need?" A lot of people will say, "Ten." The answer is actually eleven--one at each end. But after talking to Scott, I figured out that the real problem was that Scott normally put floor joists 24 inches apart--and because we are using tile flooring, he decided to go for 19 inch spacing. This reduces flexibility, which is the big enemy of any stiff material. Think about concrete, which breaks readily if it is not fully supported.
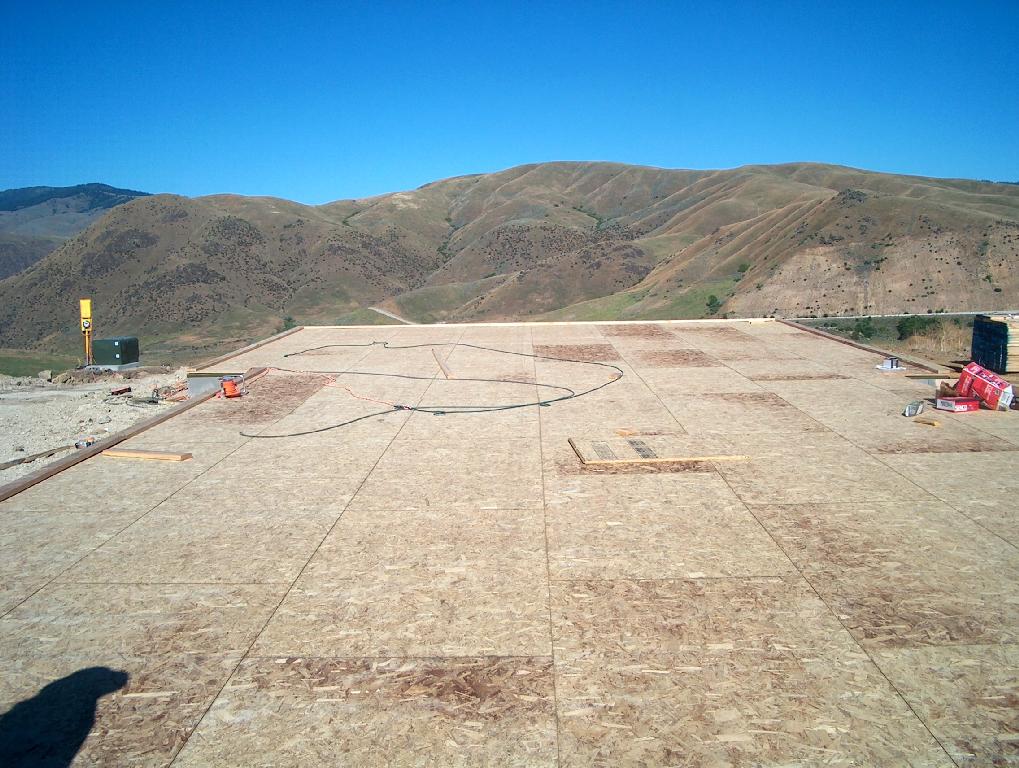
On Sunday afternoon, we took some pictures of the now completed subflooring, facing to the east.
Click to enlarge
Along the boards to which the studs mount are a series of carefully penciled (and sometimes, crossed out and moved) marks indicating where the studs should go, window centers, doors, etc. I spent a bit of time analyzing the abbreviations, and eventually guessed that "KS" stood for "King Stud," where two studs were mounted side by side. Then, I found "King Stud" actually written on one position. I guess I would have called them "Siamese Studs," but whatever.

Click to enlarge
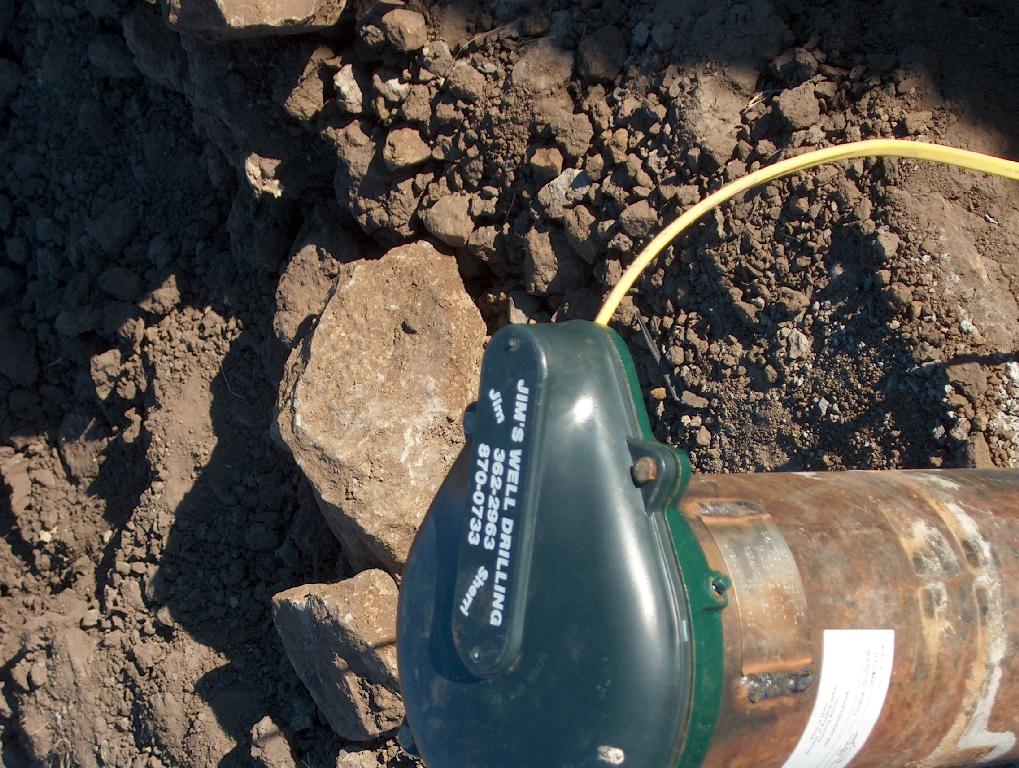
Monday evening I drove up to fill the sample bottles for testing the water. I would not be surprised if we need to chlorinate at least the water tank initially, just because it wasn't clean when we started. In any case, we are testing for coliform bacteria, iron, water hardness, lead, and arsenic.
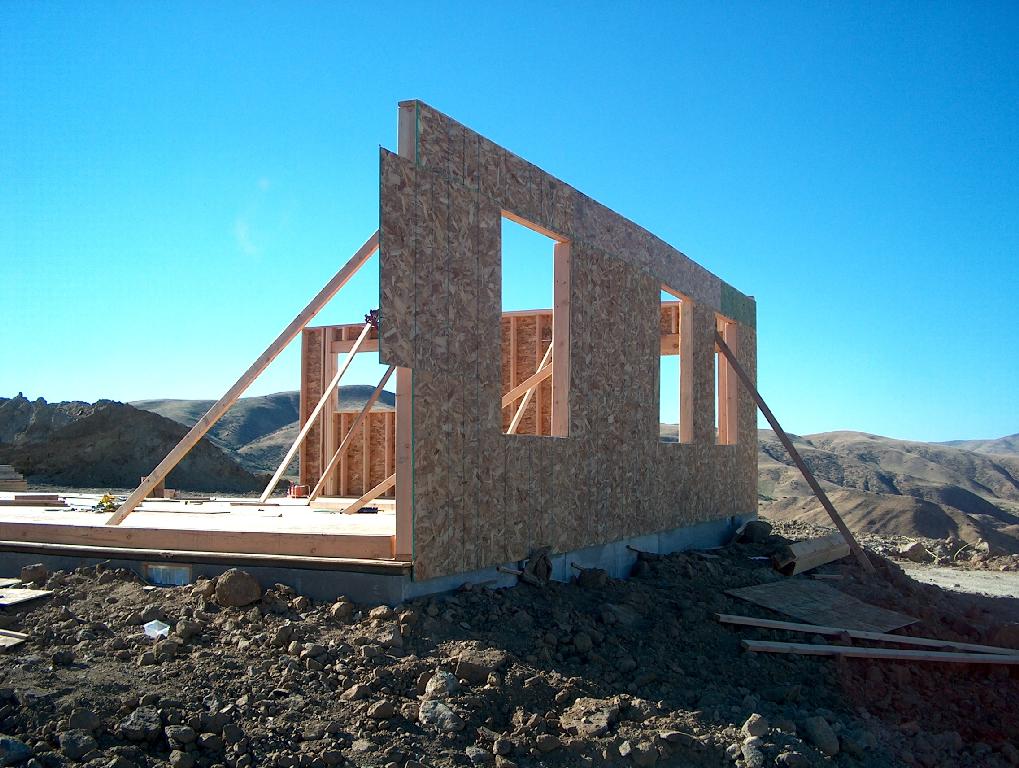
At least two of the walls are up. This is the east wall of the house, where the master bedroom and the bedroom that will contain my office go.
Click to enlarge
Here's the view through the hole where the sliding glass door of the master bedroom will go.
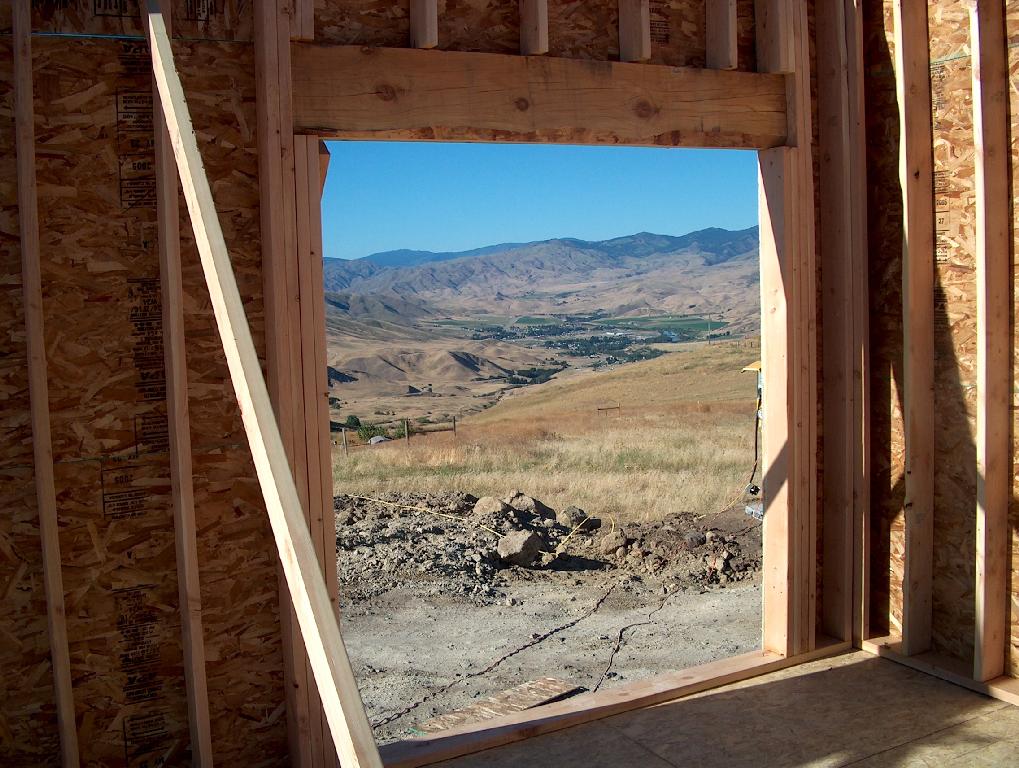
Click to enlarge
That will be quite a view to wake up to in the morning!
Here's the view from the master bathroom.

Click to enlarge
Here's the view to the east from the master bedroom.
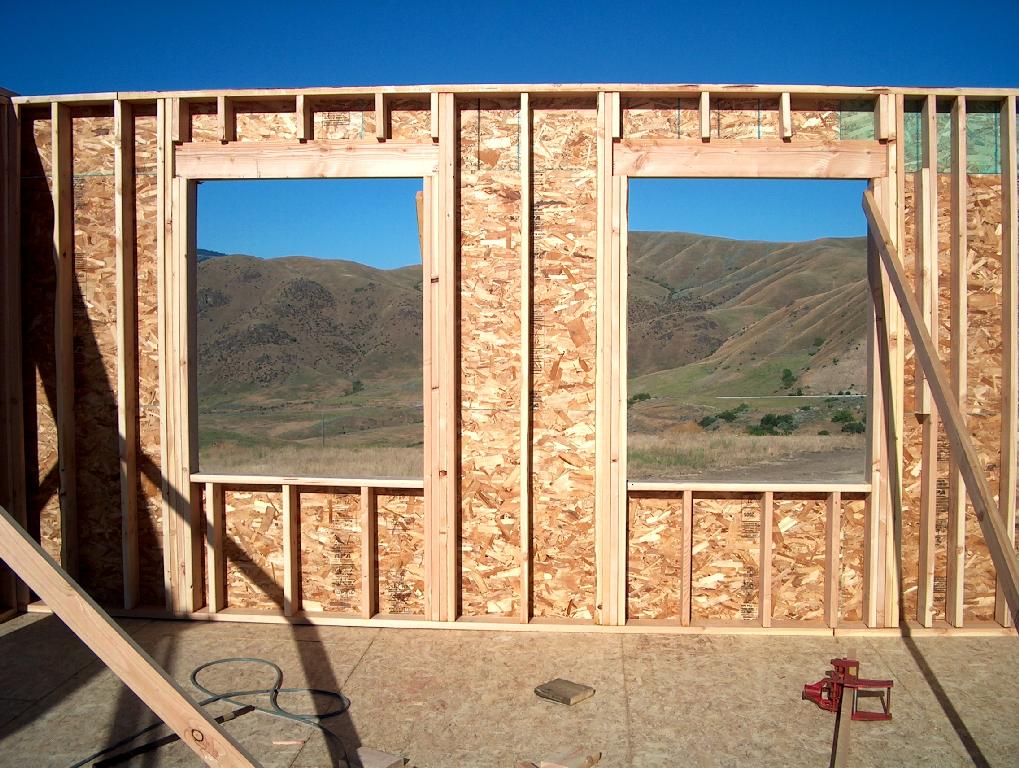
Click to enlarge
Here's the view to the east from the bedroom that I am going to use for my office.
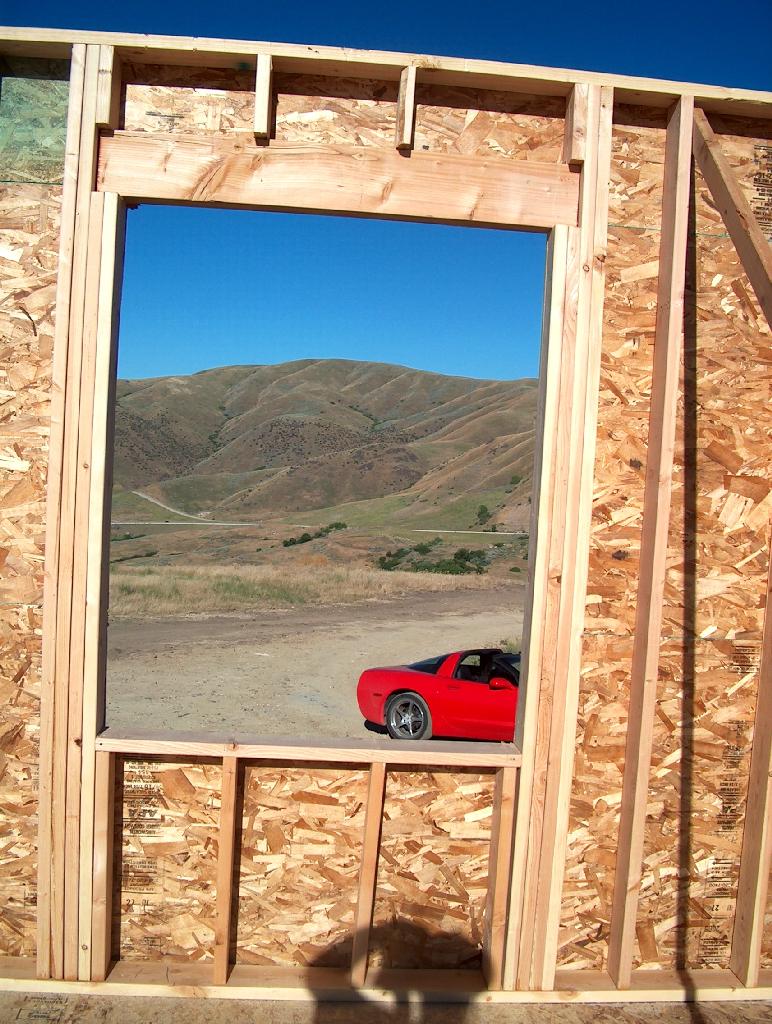
Click to enlarge
Previous house entry.
No comments:
Post a Comment